
This tutorial is devoted to aspiring developers, programmers, beginners, students who want to learn about web development and building dynamic website.
This is a self-learning and step-by-step tutorial, based on my experiance to begin developing web applications.
Actually, I have been programming for long time. I have worked on many proejcts and systems before. I have used different languages and frameworks. In beginning, I have no idea of programming. I have searched and learned a lot of things but I was totally confused because I don’t know where and how to begin. It was really challenging for me.
So based on my experiance, I have created this tutorial and sharing with you to help to learn how to begin writing code easily and know the basic principles of web programming. I am sure, you will enjoy it and start making web applications.
Key to learn programming faster:
- Interest
- Begin write code
- Make your first project
You also need to know the basics of these:
1. HTML — is the standard markup language used for creating web pages.
2. CSS — is the language that used to style HTML elements.
3. PHP — is a server-side scripting language used to make web pages dynamic and interactive.
4. MySQL — is a database management system based on Structured Query Language (SQL). It is used in web applications for storing, manipulating and retrieving data into database.
For above, I have a simple definition:
- HTML, CSS: These are used as Front-End.
- PHP, MySQL: These are used as Back-End or Server side.
Let’s start with installation
To run PHP, you need a local web server. So you need to install WAMP(Windows, Apache, MySQL, and PHP) or LAMP (Linux, Apache, MySQL, and PHP) on your computer.
Here in this tutorial, I will use XAMPP, a window based web server. So I need to install this on my computer to run PHP code.
Just download XAMPP Installer from the link given below:
https://www.apachefriends.org/index.html
Then run the installer file and continue installation. Here is screenshots to follow the installation steps:
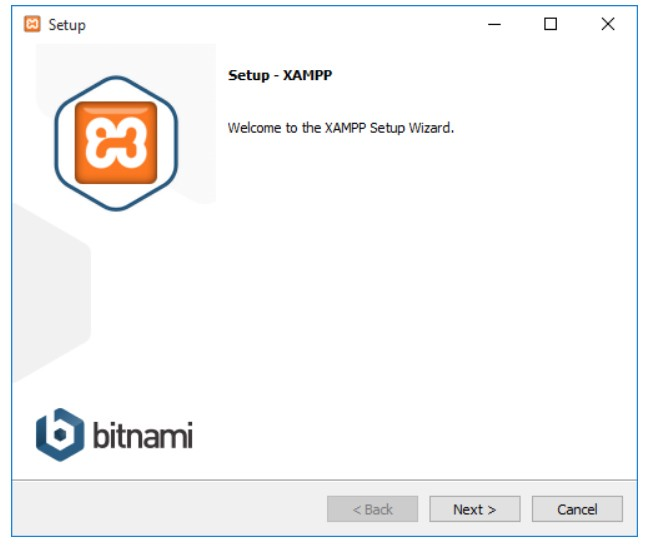
Click the Next button to continue the installation.
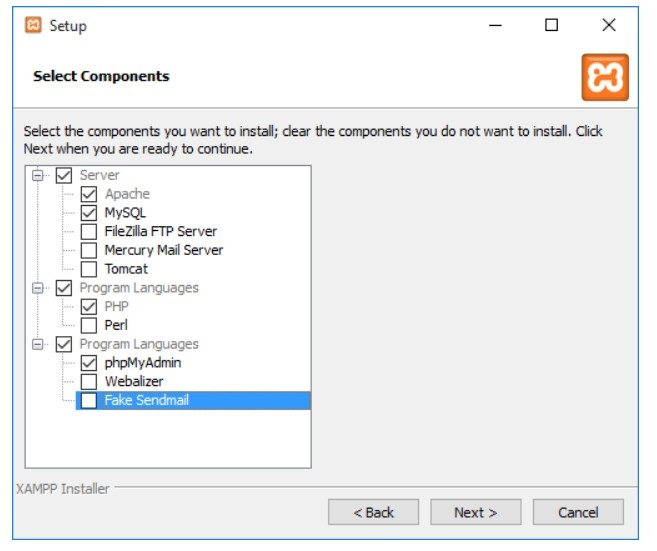
Select the componenet that you want to install and click the Next button to continue.
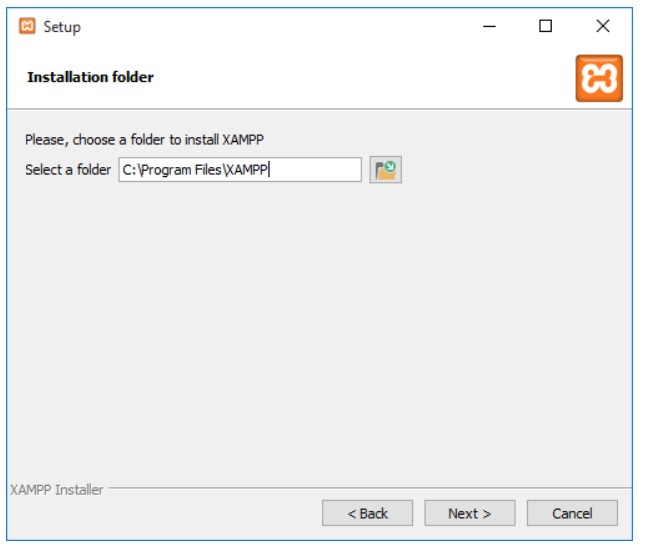
Here you can select the path where would you like to install XAMPP. Click the Next button to continue.
It will will begin the initial installation. Click the Next button to continue.
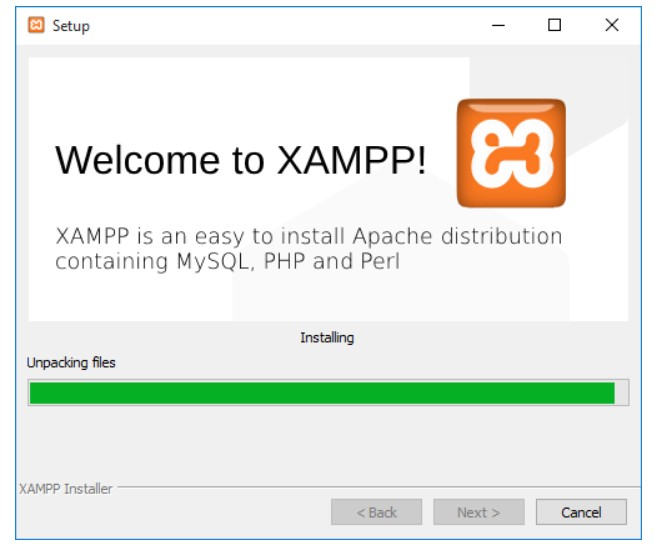
XAMPP will start installing. Wait untill instalation complete.
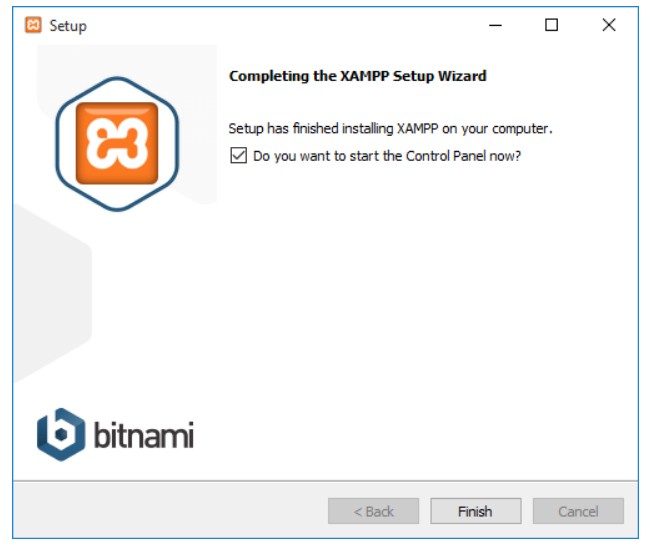
Once installation completed, click the Finish button to complete the installation.
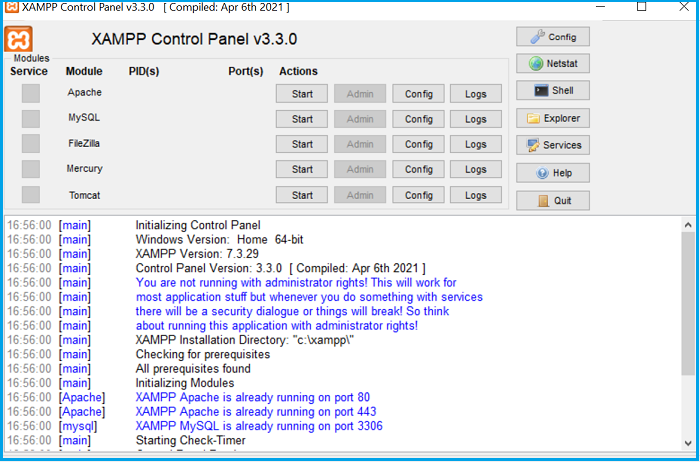
Finally, you need oepn XAMPP control panel and start Apache and MySQL by just clicking the Start button.
Let’s Start Coding PHP website
Now you’re ready to start coding your website. You need a code editor to write your programs. There many options you can choose on internet but I prefer to use Visual Studio Code which is a ligthweight and great for coding. You can download from link below.
https://code.visualstudio.com/download
After installing editor, you need to go XAMPP installation directory and then go to the htdocs folder.
C:\Program Files\XAMPP\htdocs
Then inside htdocs folder, you need to create your website folder. Here created as php-website.
C:\Program Files\XAMPP\htdocs\php-website
Then, open your website folder in your Visual Studio Code editor and create a new file inside the website folder and name it index.php
C:\Program Files\XAMPP\htdocs\php-website\index.php
we will write the HTML for our website in our index.php file.
Now we will run our website by copy paste below url in browser.
http://localhost/php-website/index.php

The website page loaded and displaying content without style as styling not done. We will create CSS to style it.
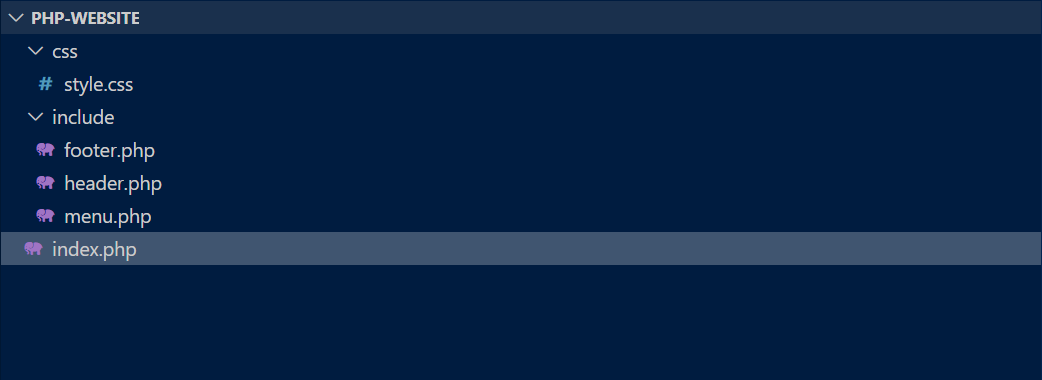
Now we will manage code for our website as there all html code in a single file, so we will create separate file for each section (Header, Menus, Footer) to avoid duplicacy and use these files in our website pages. We will create header.php, footer.php and menu.php file.
So now the file sctruture of our website will be:
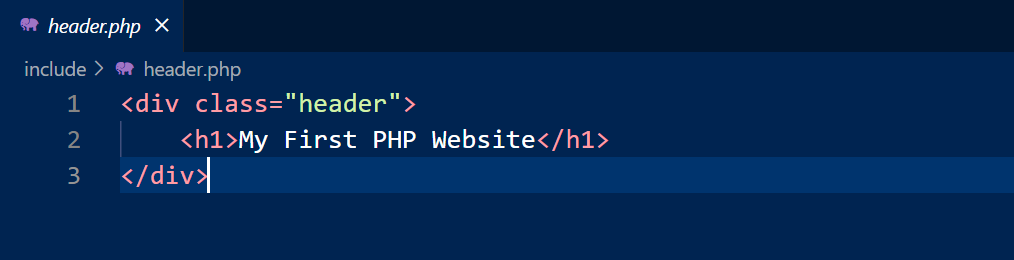
We will open header.php and put header HTML code.
We will open menu.php and put menu HTML code.

We will open footer.php and put footer HTML code.

We will create style.css and write CSS to add design to our website.
* {
  box-sizing: border-box;
}

body {
  font-family: Arial, Helvetica, sans-serif;
  margin: 0;
}

.header {
  padding: 10px;
  text-align: left;
  background: #10b7e4;
  color: white;
}

.header h1 {
  font-size: 40px;
}

.navbar {
  overflow: hidden;
  background-color: #333;
  position: sticky;
  position: -webkit-sticky;
  top: 0;
}

.navbar a {
  float: left;
  display: block;
  color: white;
  text-align: center;
  padding: 14px 20px;
  text-decoration: none;
}

.navbar a.right {
  float: right;
}

.navbar a:hover {
  background-color: #ddd;
  color: black;
}

.navbar a.active {
  background-color: #666;
  color: white;
}

.row {
  display: -ms-flexbox;
  display: flex;
  -ms-flex-wrap: wrap;
  flex-wrap: wrap;
}

.side {
  -ms-flex: 30%;
  flex: 30%;
  background-color: #f1f1f1;
  padding: 20px;
}

.main {
  -ms-flex: 70%;
  flex: 70%;
  background-color: white;
  padding: 20px;
}

/* Footer */
.footer {
  padding: 20px;
  text-align: center;
  background: #ddd;
}

@media screen and (max-width: 700px) {
  .row {
    flex-direction: column;
  }
}

@media screen and (max-width: 400px) {
  .navbar a {
    float: none;
    width: 100%;
  }
}
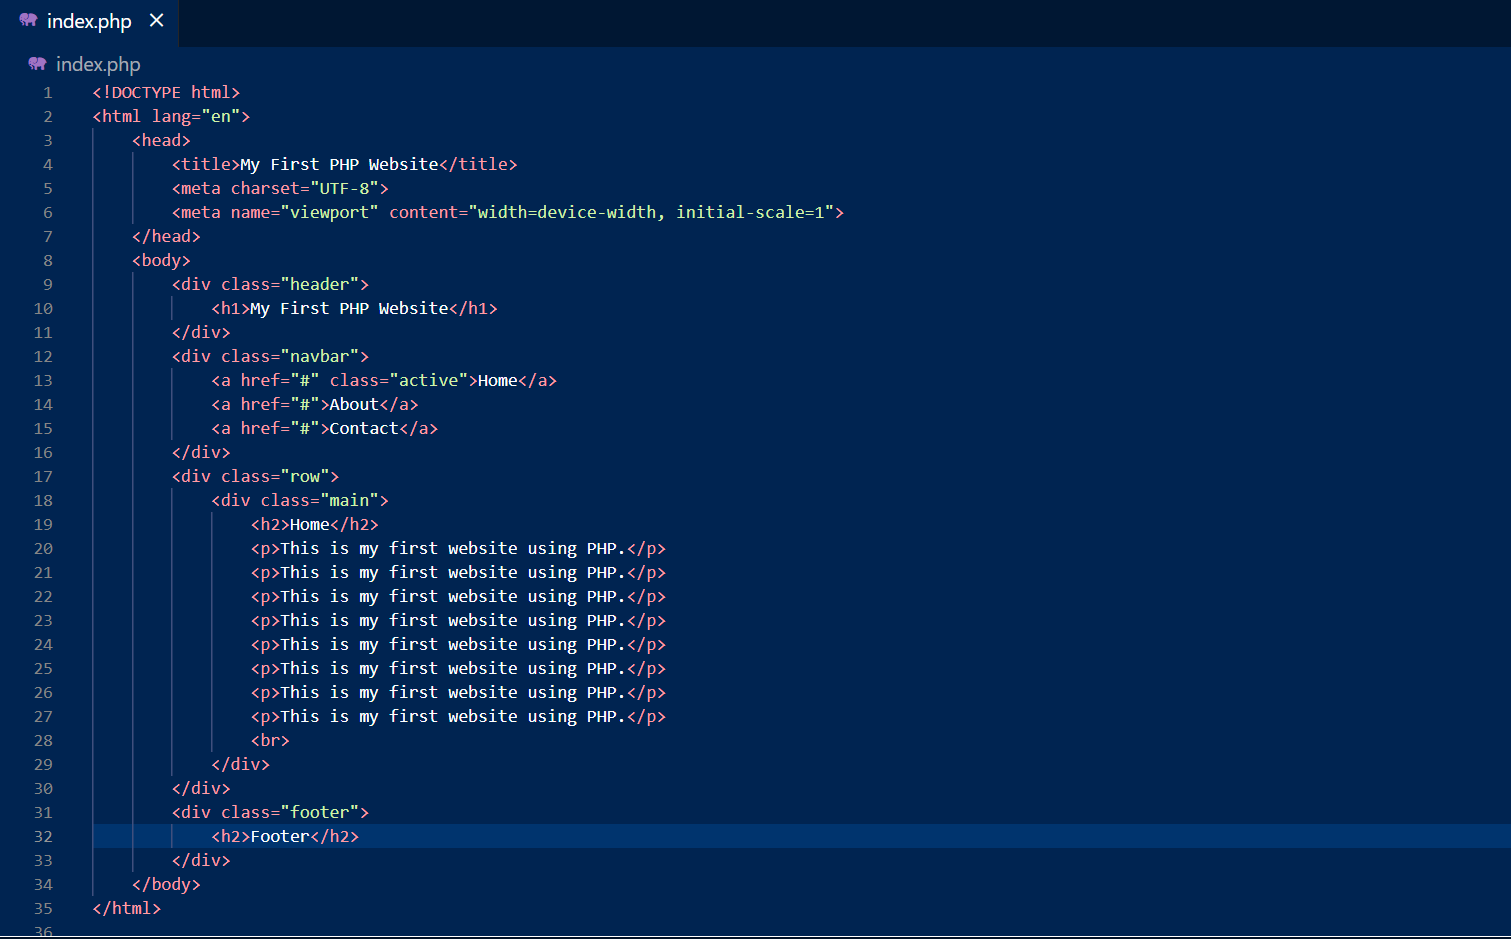
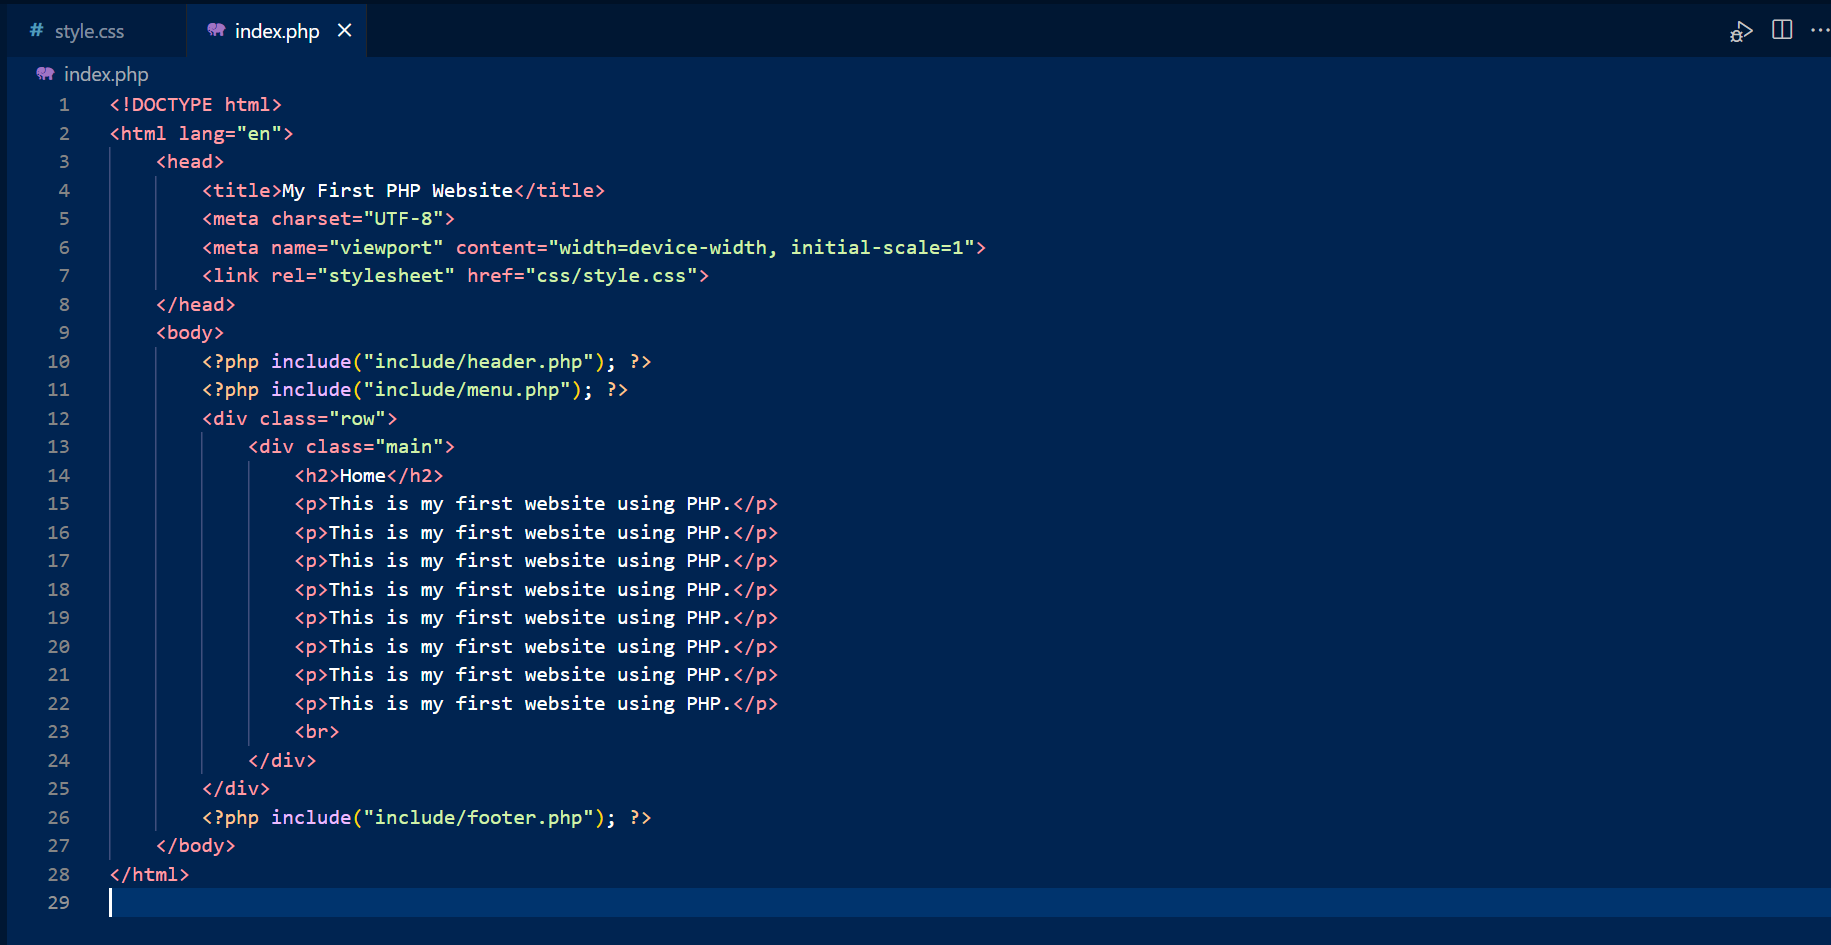
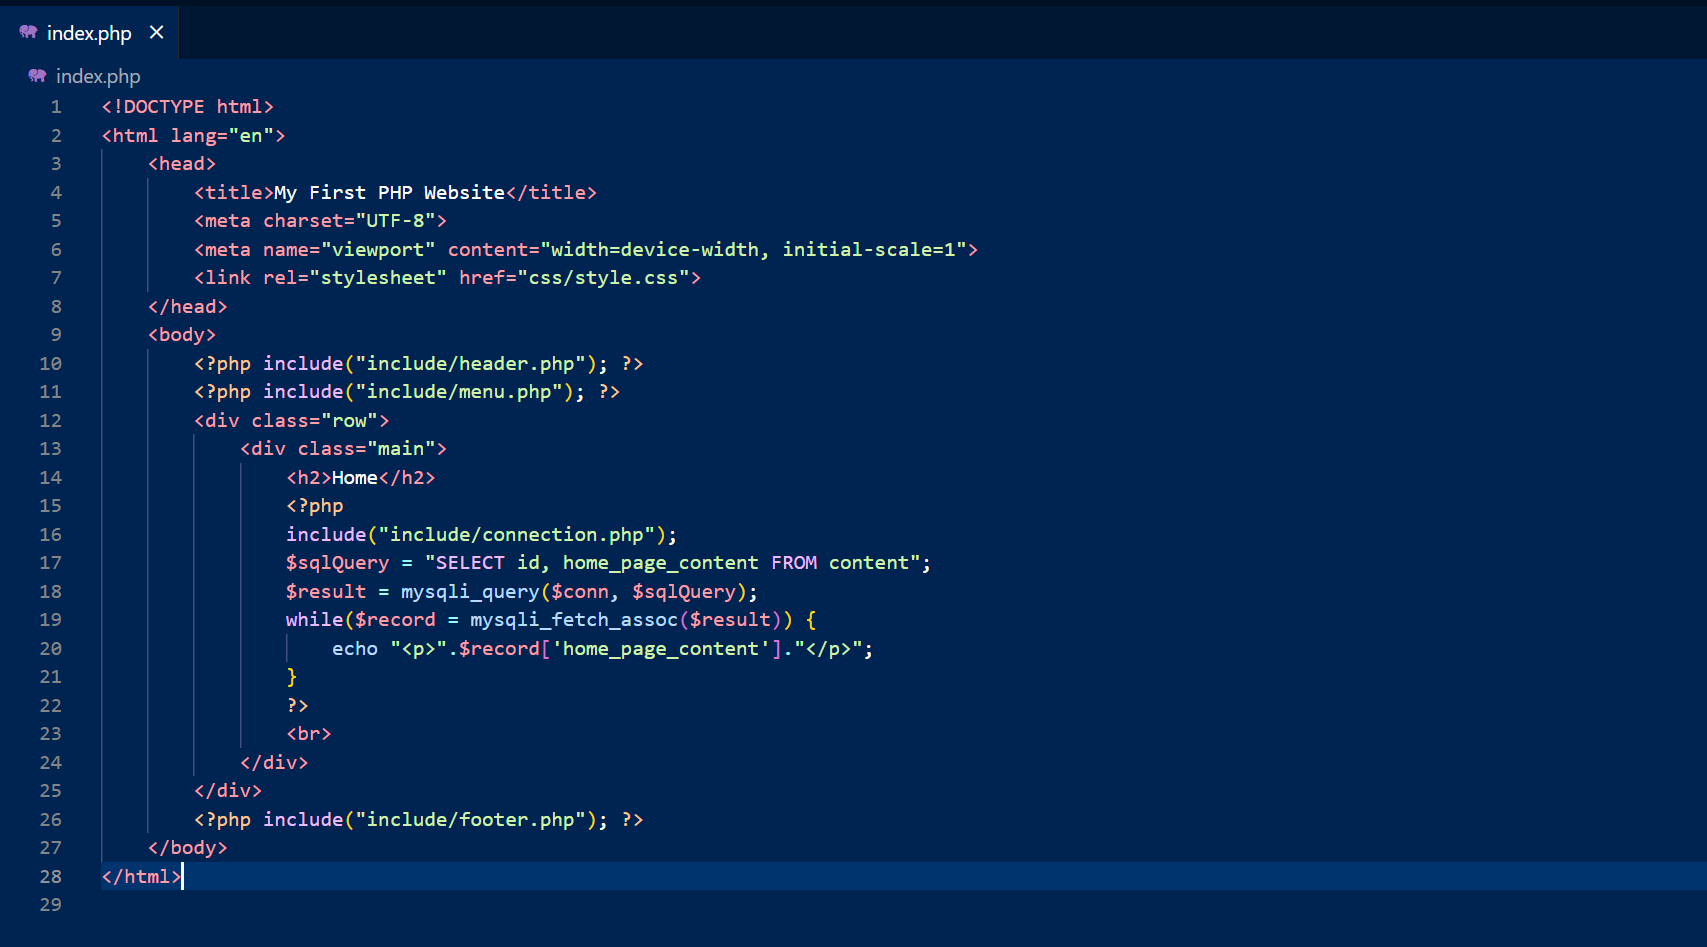
Now our index.php file will be like this:
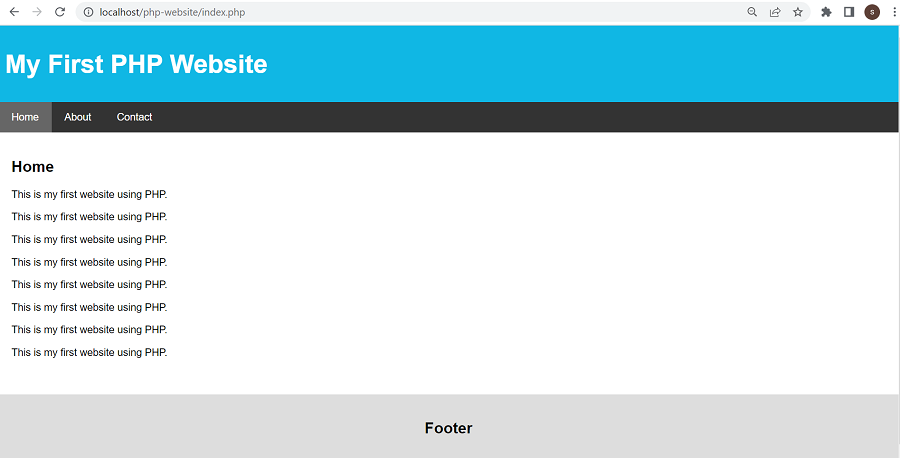
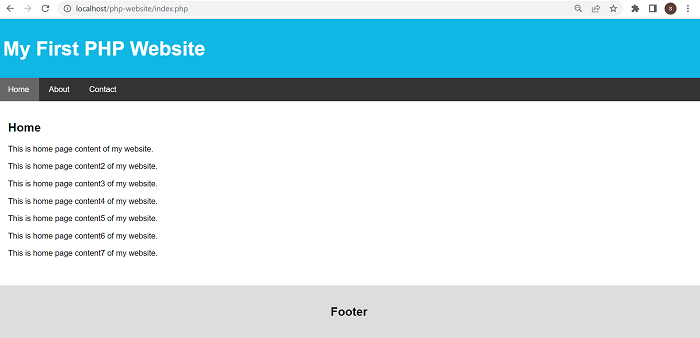
Again, we will load our website in browser and the website will look like:
The content of our website is still static. So now we will load it dynamically from Database.
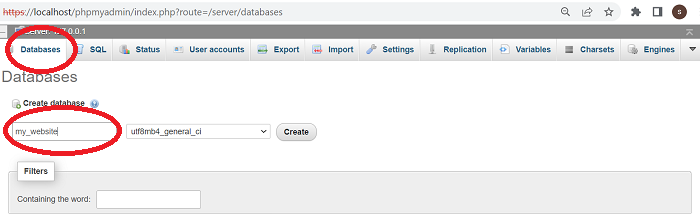
We will access MySQL using URL https://localhost/phpmyadmin and create database name as my_website.
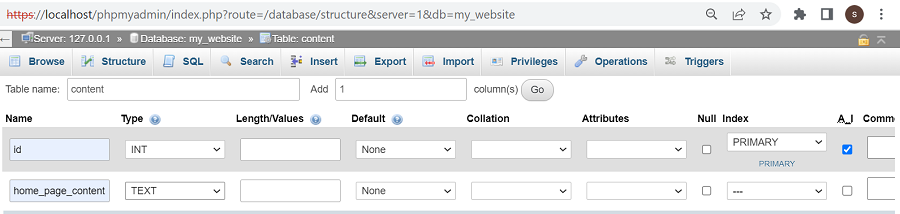
We will create table content into database.

The structure of our table content will be following:
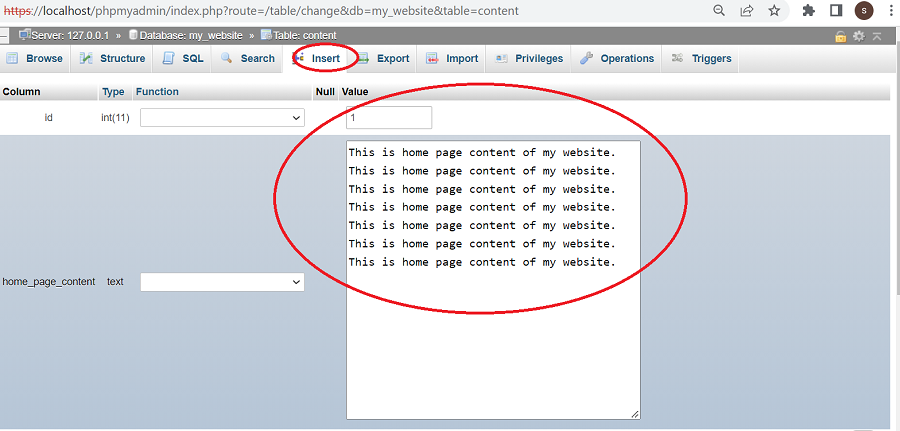
we will insert record into our table content to display content in index.php file.
Now we have data in our database table and we will retrieve it to display on home page of our website.

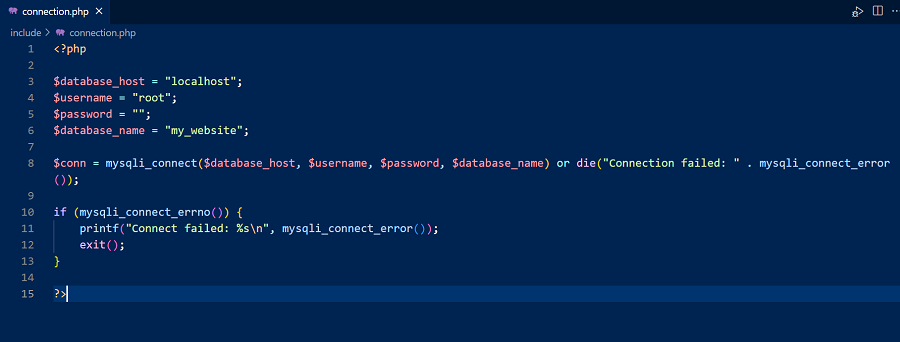
Now we will create will create our data connection file connection.php into include directory to make connection to our database.
We will include connection file in index.php file and write PHP code to retrieve records to display from table content.
<?php
include("include/connection.php");
$sqlQuery = "SELECT id, home_page_content FROM content";
$result = mysqli_query($conn, $sqlQuery);
while($record = mysqli_fetch_assoc($result)) {
	echo "<p>".$record['home_page_content']."</p>";
}
?>
Now our final index.php file will be following:
Finally, You can now test the output going through the url. It will display like loading content dynamically from database:
That’s it. I hope you have enjoyed it!
You can download complete source code from here.